Holtey Classic Hand Planes


No.983 Block plane
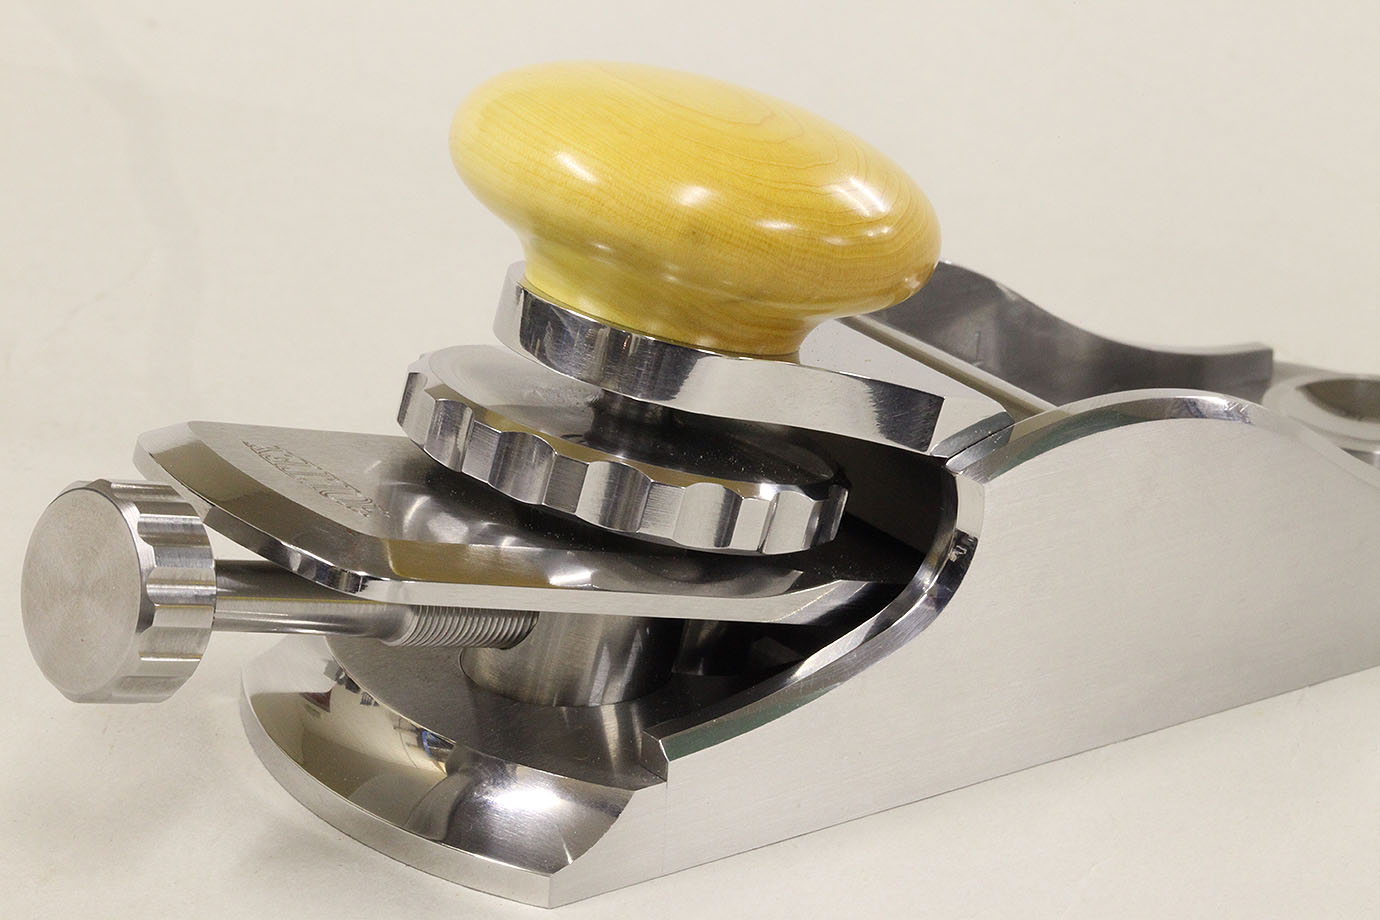
This is my stainless steel block plane - which has been a long time in its conception. I arrived at this design having studied and compared as many block plane designs as I could find, both old and new.The qualities I was looking for were: simplicity, elegance and above all ease of use. One of the planes I looked at had an overall height of 2 1/2" and was noticeably more comfortable to the hand, giving a positive drive for the plane without having to pinch the sides too hard. This height is just right and truly feels comfortable and positive in use.
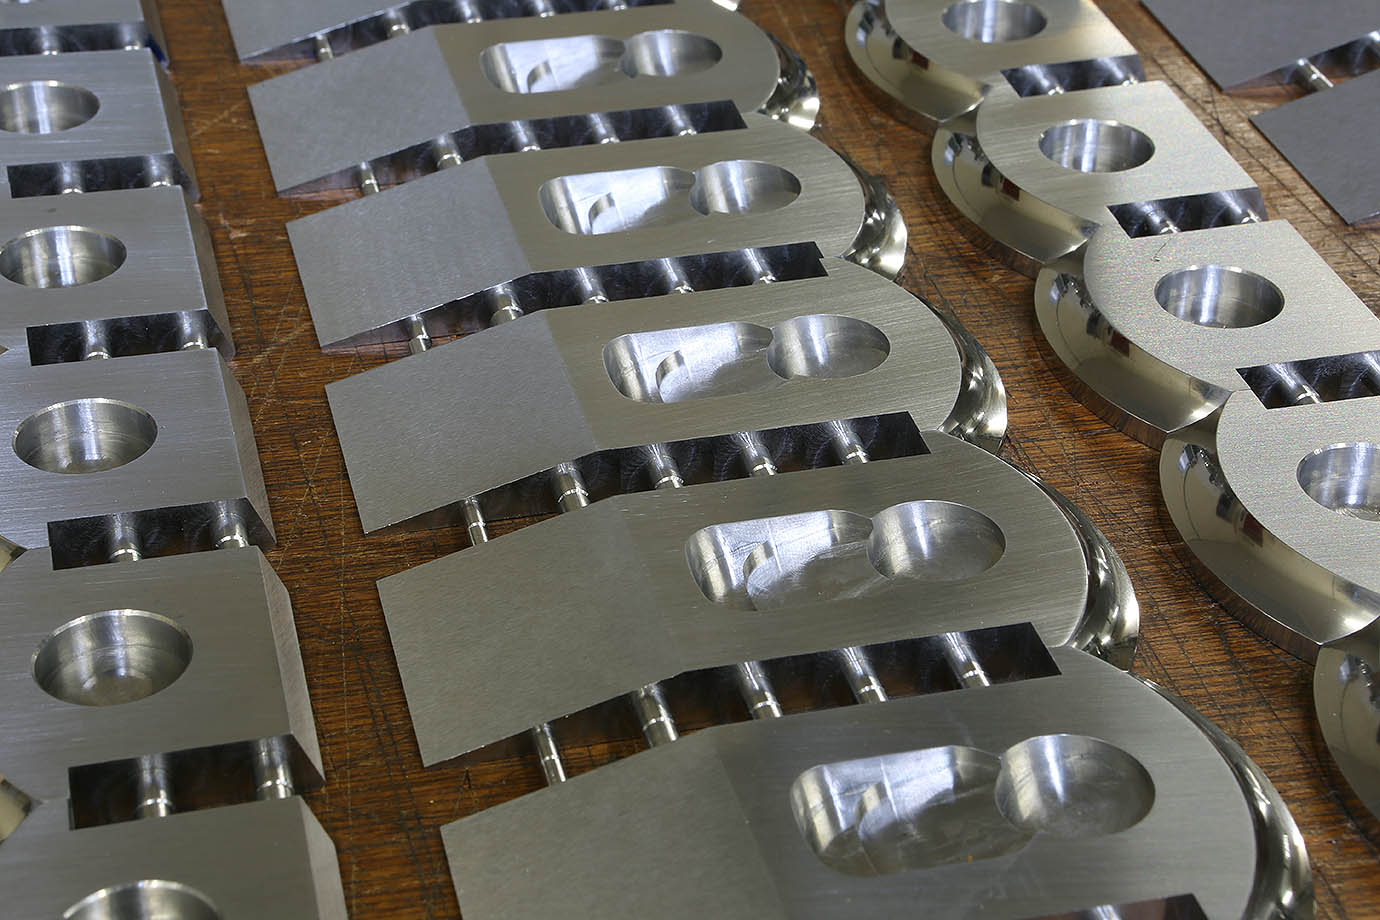
You will notice how the blade chamfer, the profile of the sides and the rear cutaway of the lever cap combine to allow easy access to the clamping wheel, whilst removing any possibility of contact with sharp edges. The open access to the clamping wheel makes blade adjustment or removal of lever cap, blade and adjuster so easy. I feel that the curves of the side panels flow nicely to give this plane a pleasing retro styling.
Bridge and lever cap
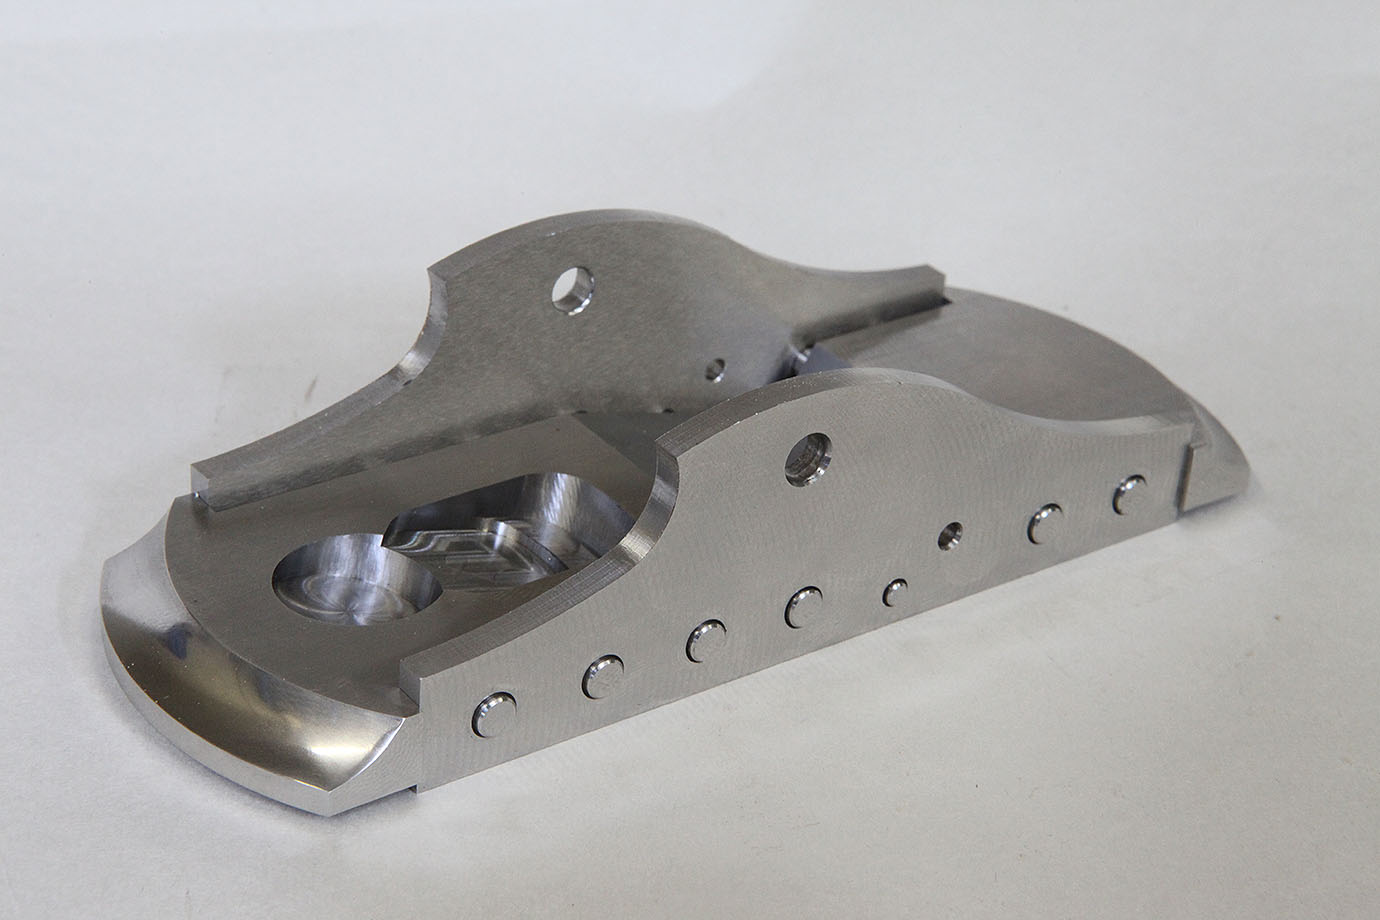
The circular cross section bridge has become a distinctive feature of my planes of late. It is fixed in place using integral riviting - the same
technique used to join the sides to the sole which gives superior strength and ridgidity compared to more traditional fixing methods.
The lever cap has a recess cut which engages with the bridge, thus providing further stability without any movement in the palm rest. I choose to use a low finger rest as I believe that this provides a much better feedback in use.
The lever cap has a recess cut which engages with the bridge, thus providing further stability without any movement in the palm rest. I choose to use a low finger rest as I believe that this provides a much better feedback in use.
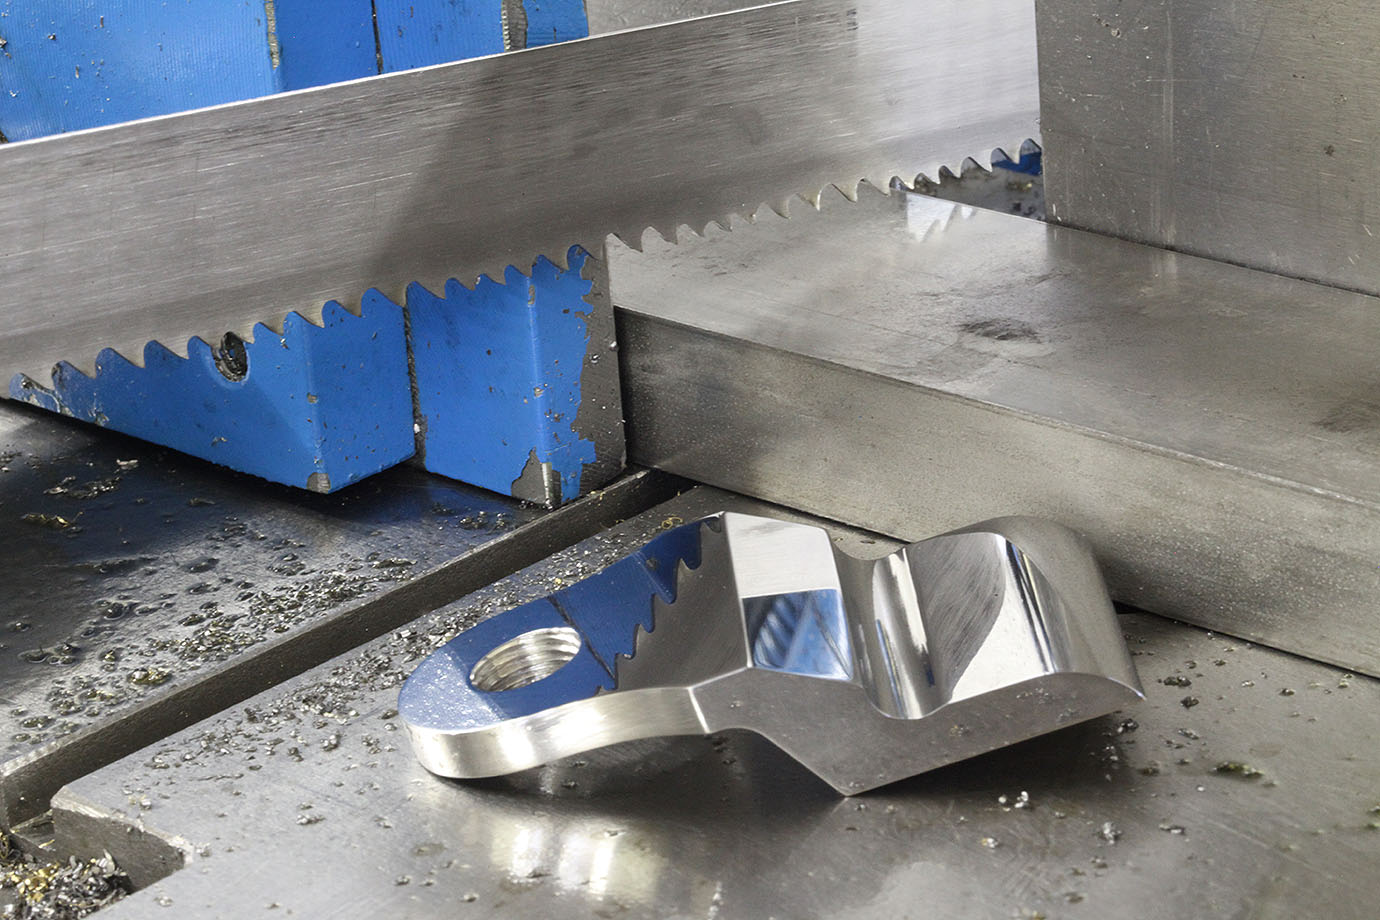
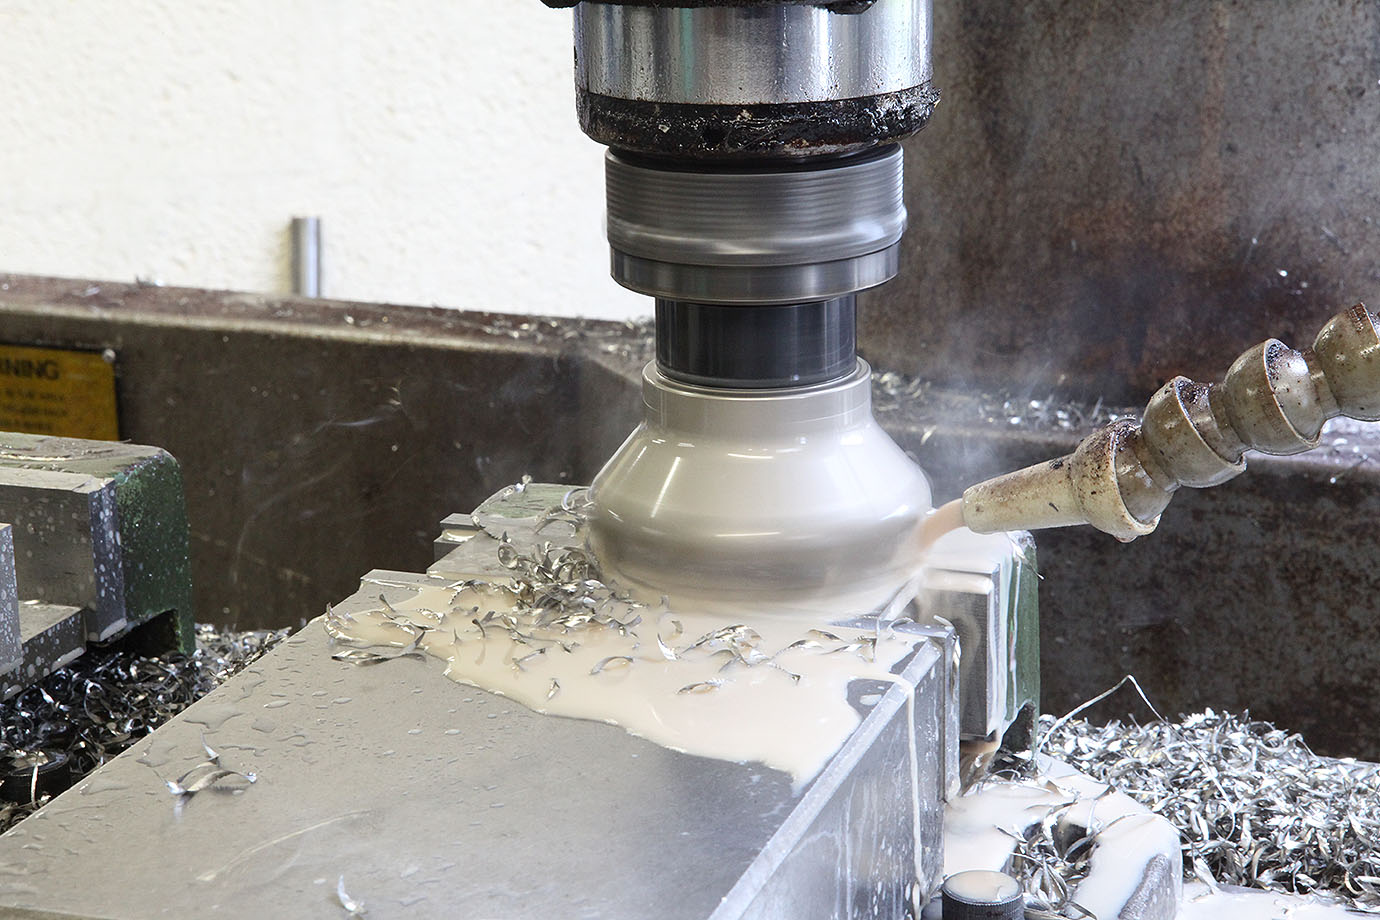 As with all my planes everything begins as raw material so a lot of bar material needs to be cut, prepared and with ends and edges trued up and planed on both sides.
The picture above shows a stainless steel panel being surfaced in the mill, not too dissimilar to setting out with wood.
 As most of my planes are bow fronted the milling operation here shows the end radiusing and some form cutting. This helps to soften the outline of the plane.
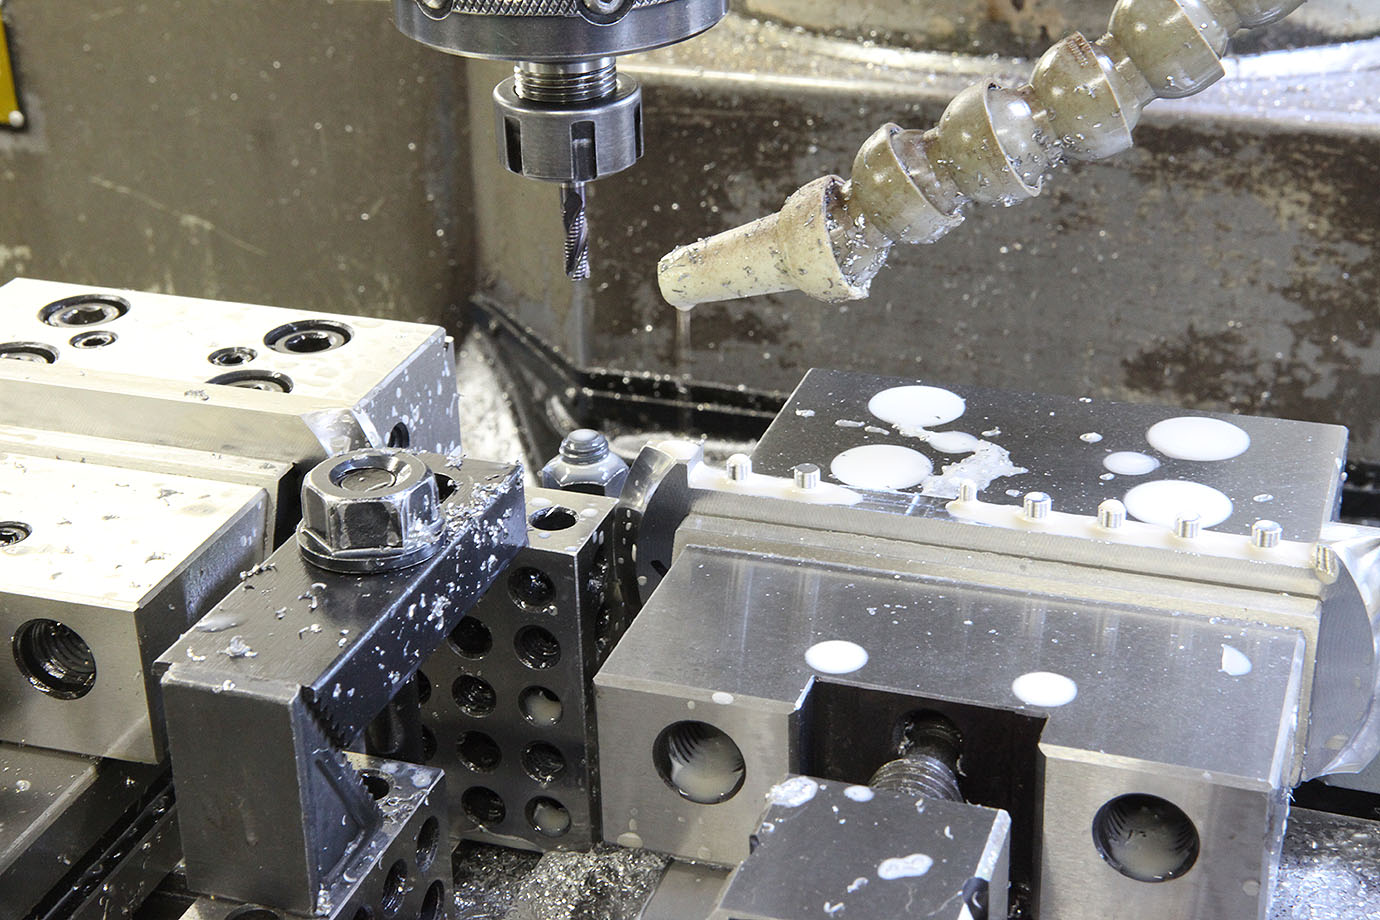 With this plane I have returned to integral riveting as first used on the No.98 (also fabricated from stainless).
The rivets have a small leading chamfer which also helps to prevent splitting when it comes to peining.
 The adjuster recess is milled along with the blade bed - both surfaces are in true station, I decided not to fix the adjuster as it only needs to be positioned.
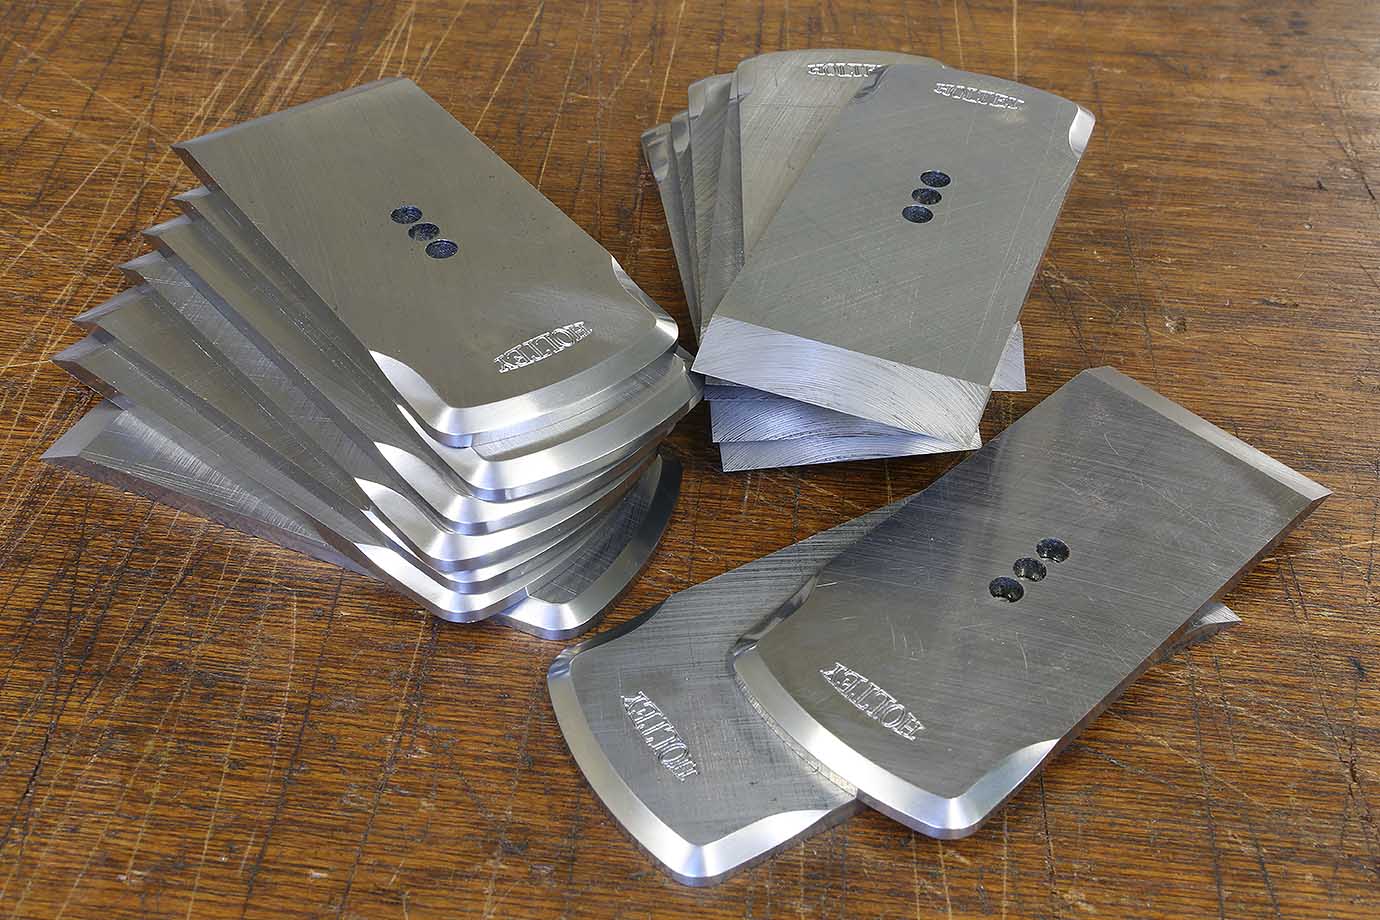
The adjuster will support the rear end of the blade in line with the frog which makes up the blade bed. The adjuster is allowed to rotate and position the blade, this system was also used on the No.98 (excluding the retaining screw).
precision engineering without compromise


